Body
Overview
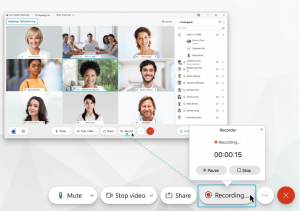
Webex can record your meeting, lecture, or webinar for people who can’t attend or for those that want to refer back to review what was discussed. When you initiate a recording, you MUST disclose that you are going to be recording the Webex.
Getting Started

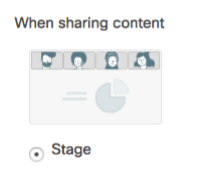
What is the default Recording Layout?


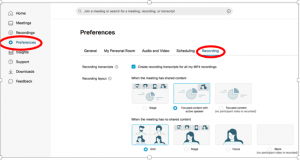
How do I modify my Recording Layout?
Log into the Fleming College Webex site https://flemingcollege.webex.com

Navigate to Preferences then Recording and modify as needed
Additional Information
Who Can Record?
Only the host or co-host of a meeting can record the meetings. Recordings are private to the host and co-host, and protected under the Fleming College Appropriate Use Policy
Where does the Recording Go?
The recording will always be saved in the Webex Cloud. When the recording is ready, the meeting host can access and share the recordings with anyone. The host will receive an email with all the details to share and play the recording.
What is the Format of the Recording?
Recordings in the cloud save in MP4 format
How long is My Recording Available?
As per PIPEDA regulations, all recordings are available for 1 year
How can I share my Recording?
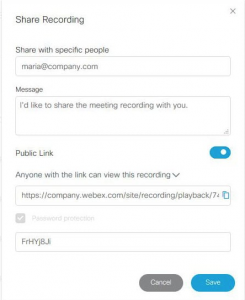
Log into the Fleming College Webex site choose Recordings on the left hand side select Share  in the share recording dialogue box compose the details of the people to email who you are sharing the recording with.

-
Enter the email addresses, separated by commas, of each of the recipients.
-
Enter the message that you want to include.
-
Choose who can view the recording. If you ever want to make the recording inaccessible to everyone who has access to the link, select  to disable the link, and then select OK.
-
To prevent unauthorized users from accessing the recording, check the Password protection check box and enter the password that recipients must enter to play the recording.